How to host your website on Amazon S3 using the AWS management console

This blog post will guide you on the step-by-step procedures of hosting your static website on Amazon S3.
Introduction
In this tutorial, we will deploy a static website on Amazon S3. I will show you how to achieve this.
This tutorial assumes you have your web files.
Prerequisites:
- You have an AWS account. Instructions to create one here.
- Basic Knowledge of HTML, CSS
Steps
To achieve these, we will follow a series of steps:
- Create an AWS S3 bucket
- Upload web files into the bucket
- Edit bucket public access
- Set bucket policy
- Enable Static website hosting on the bucket
Let’s Begin
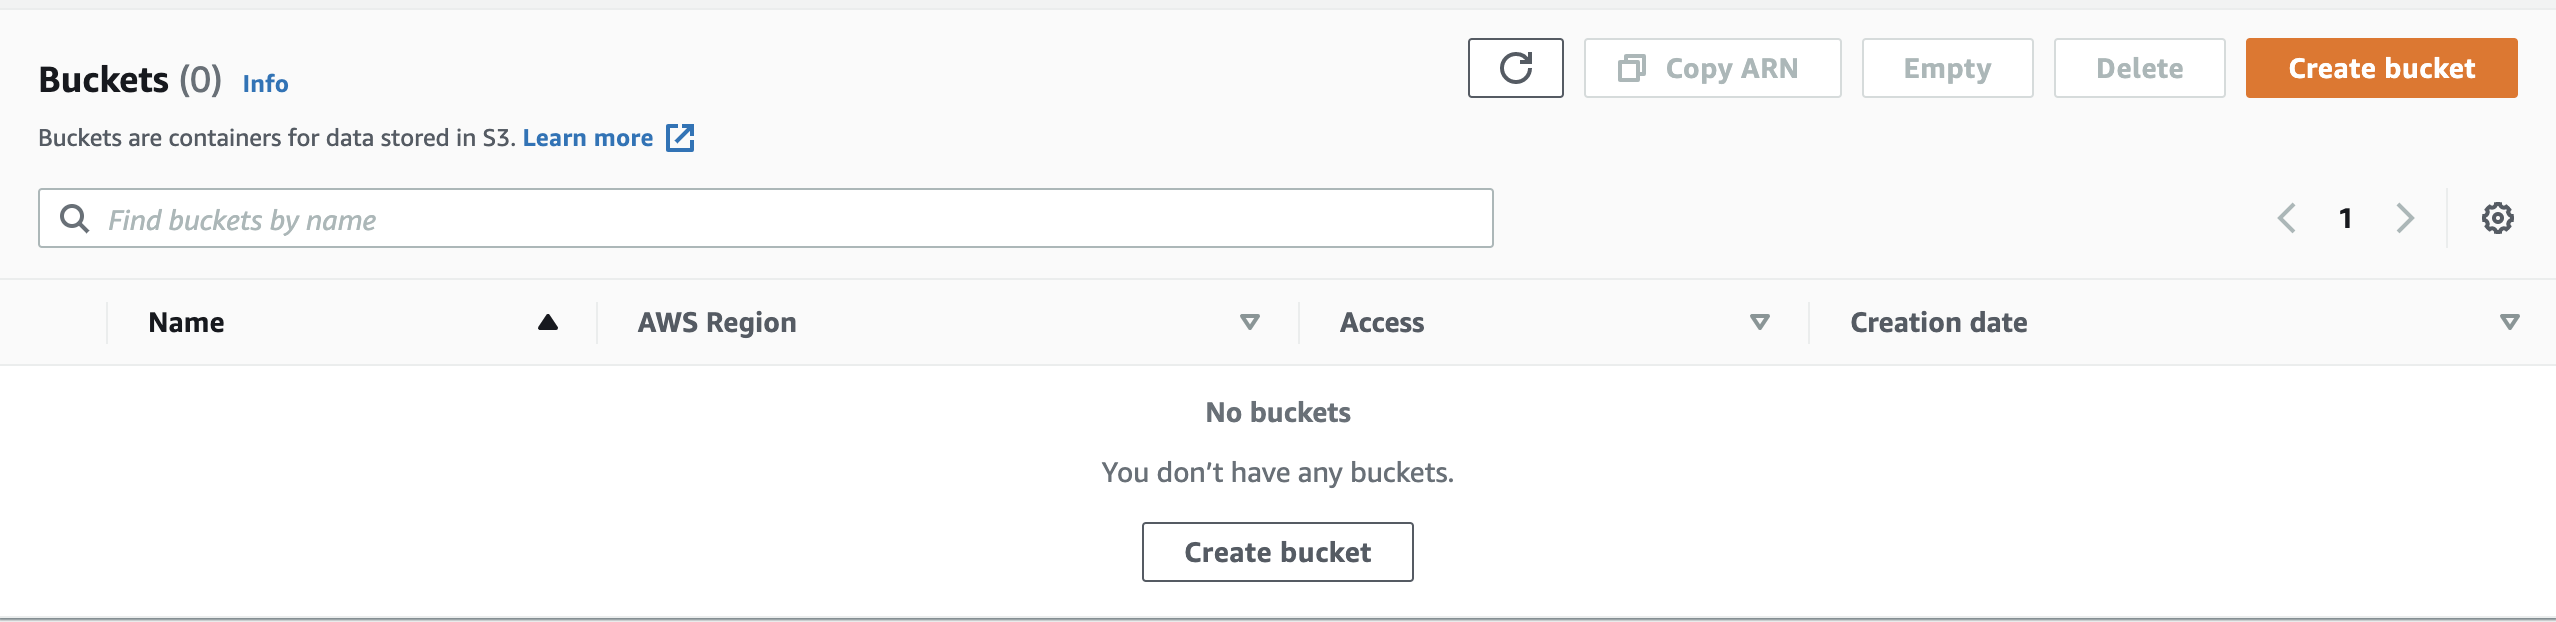
Create an AWS S3 bucket
To get started:
- Log into your AWS account.
- Search for Amazon S3, then click it.
- Click create a bucket
- Specify a bucket name and region
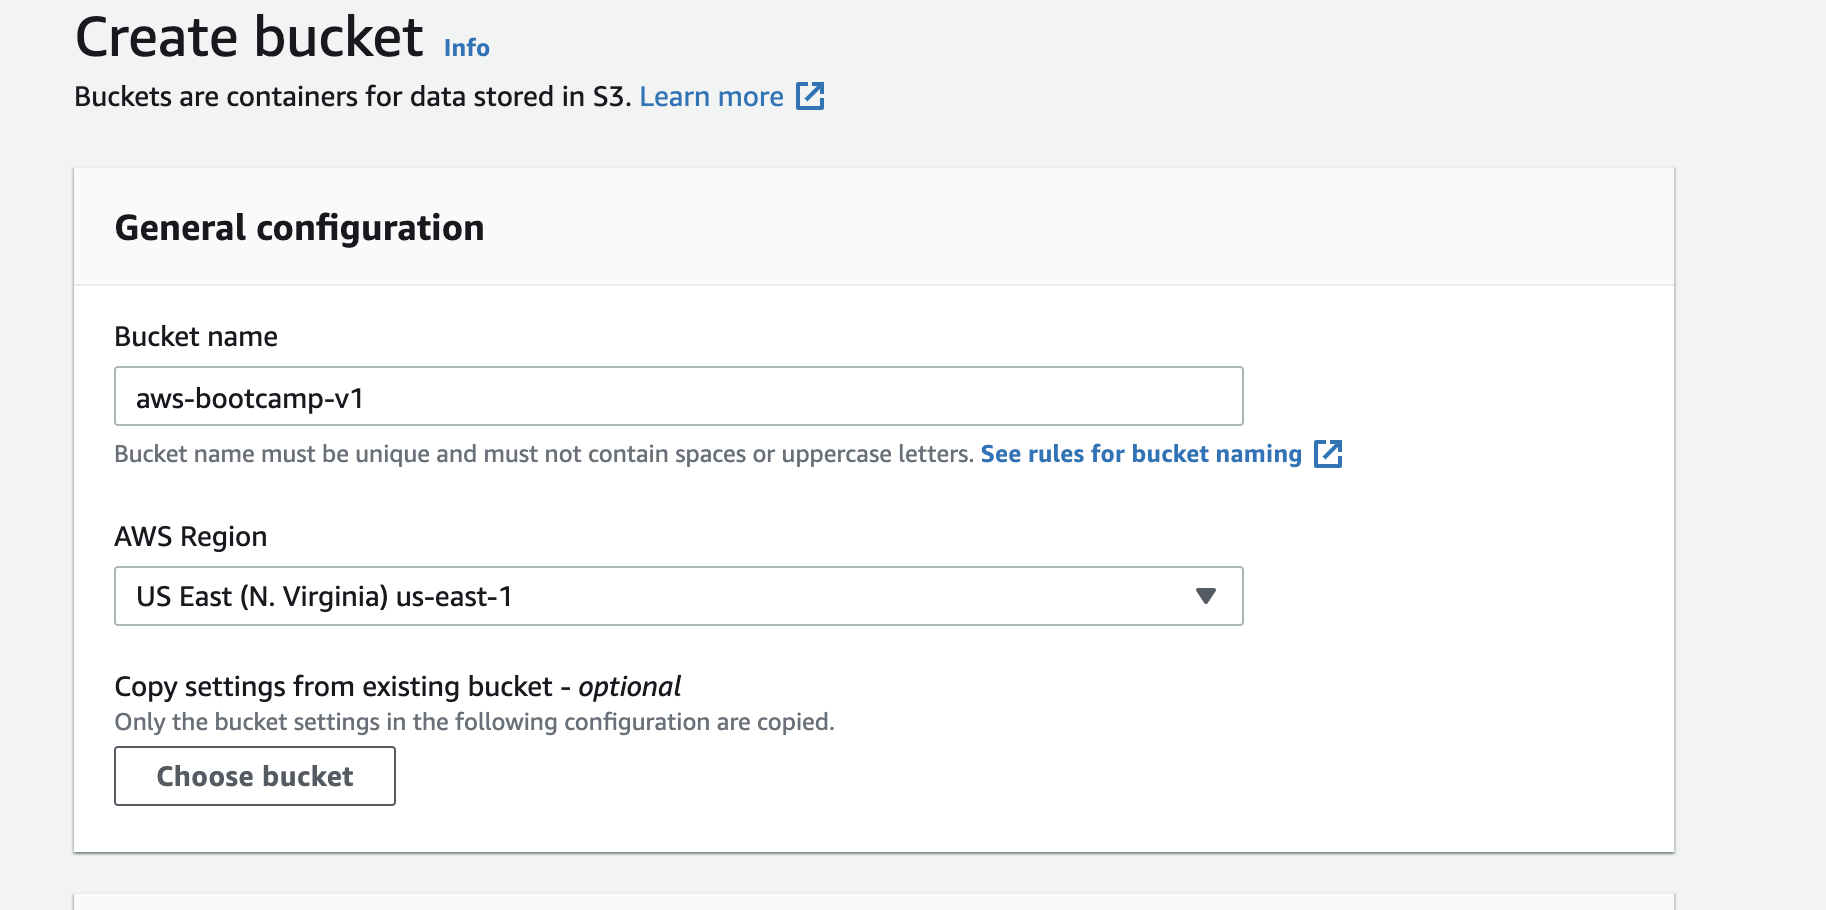
- Allow default for other options and click Create bucket
Upload web files into the bucket
- Click on the bucket you just created
- Click the upload button
- Click the Add files button and select the web files from your local computer
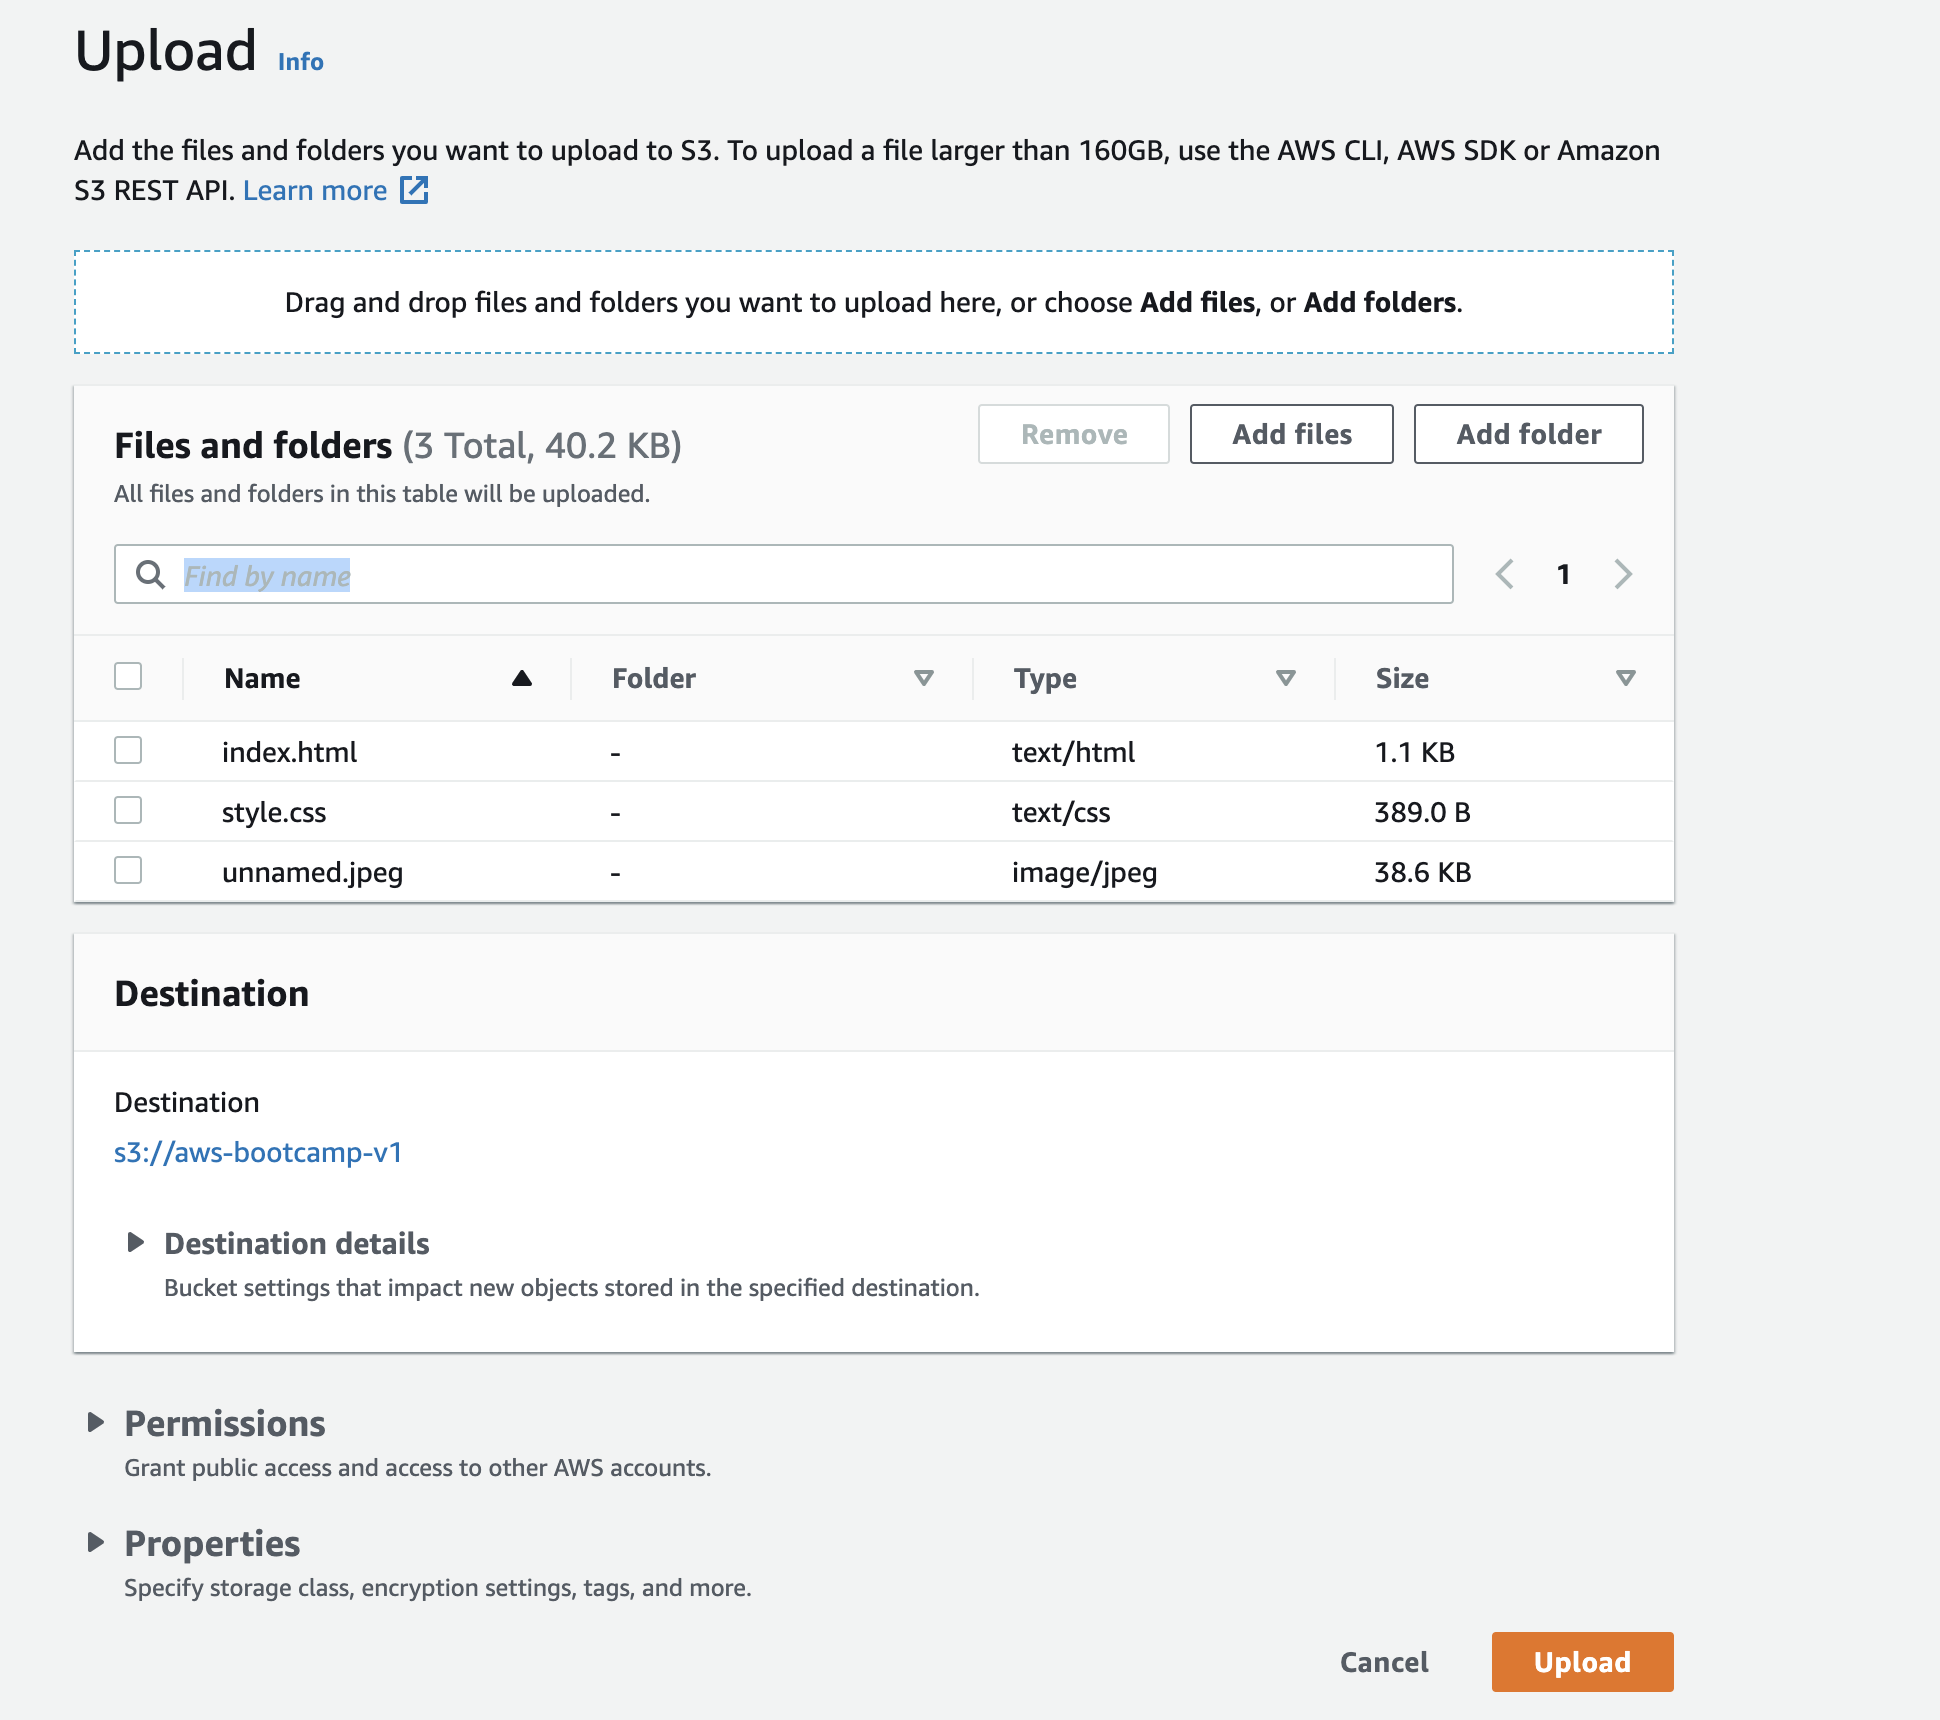
- Leave other settings as default then click upload.
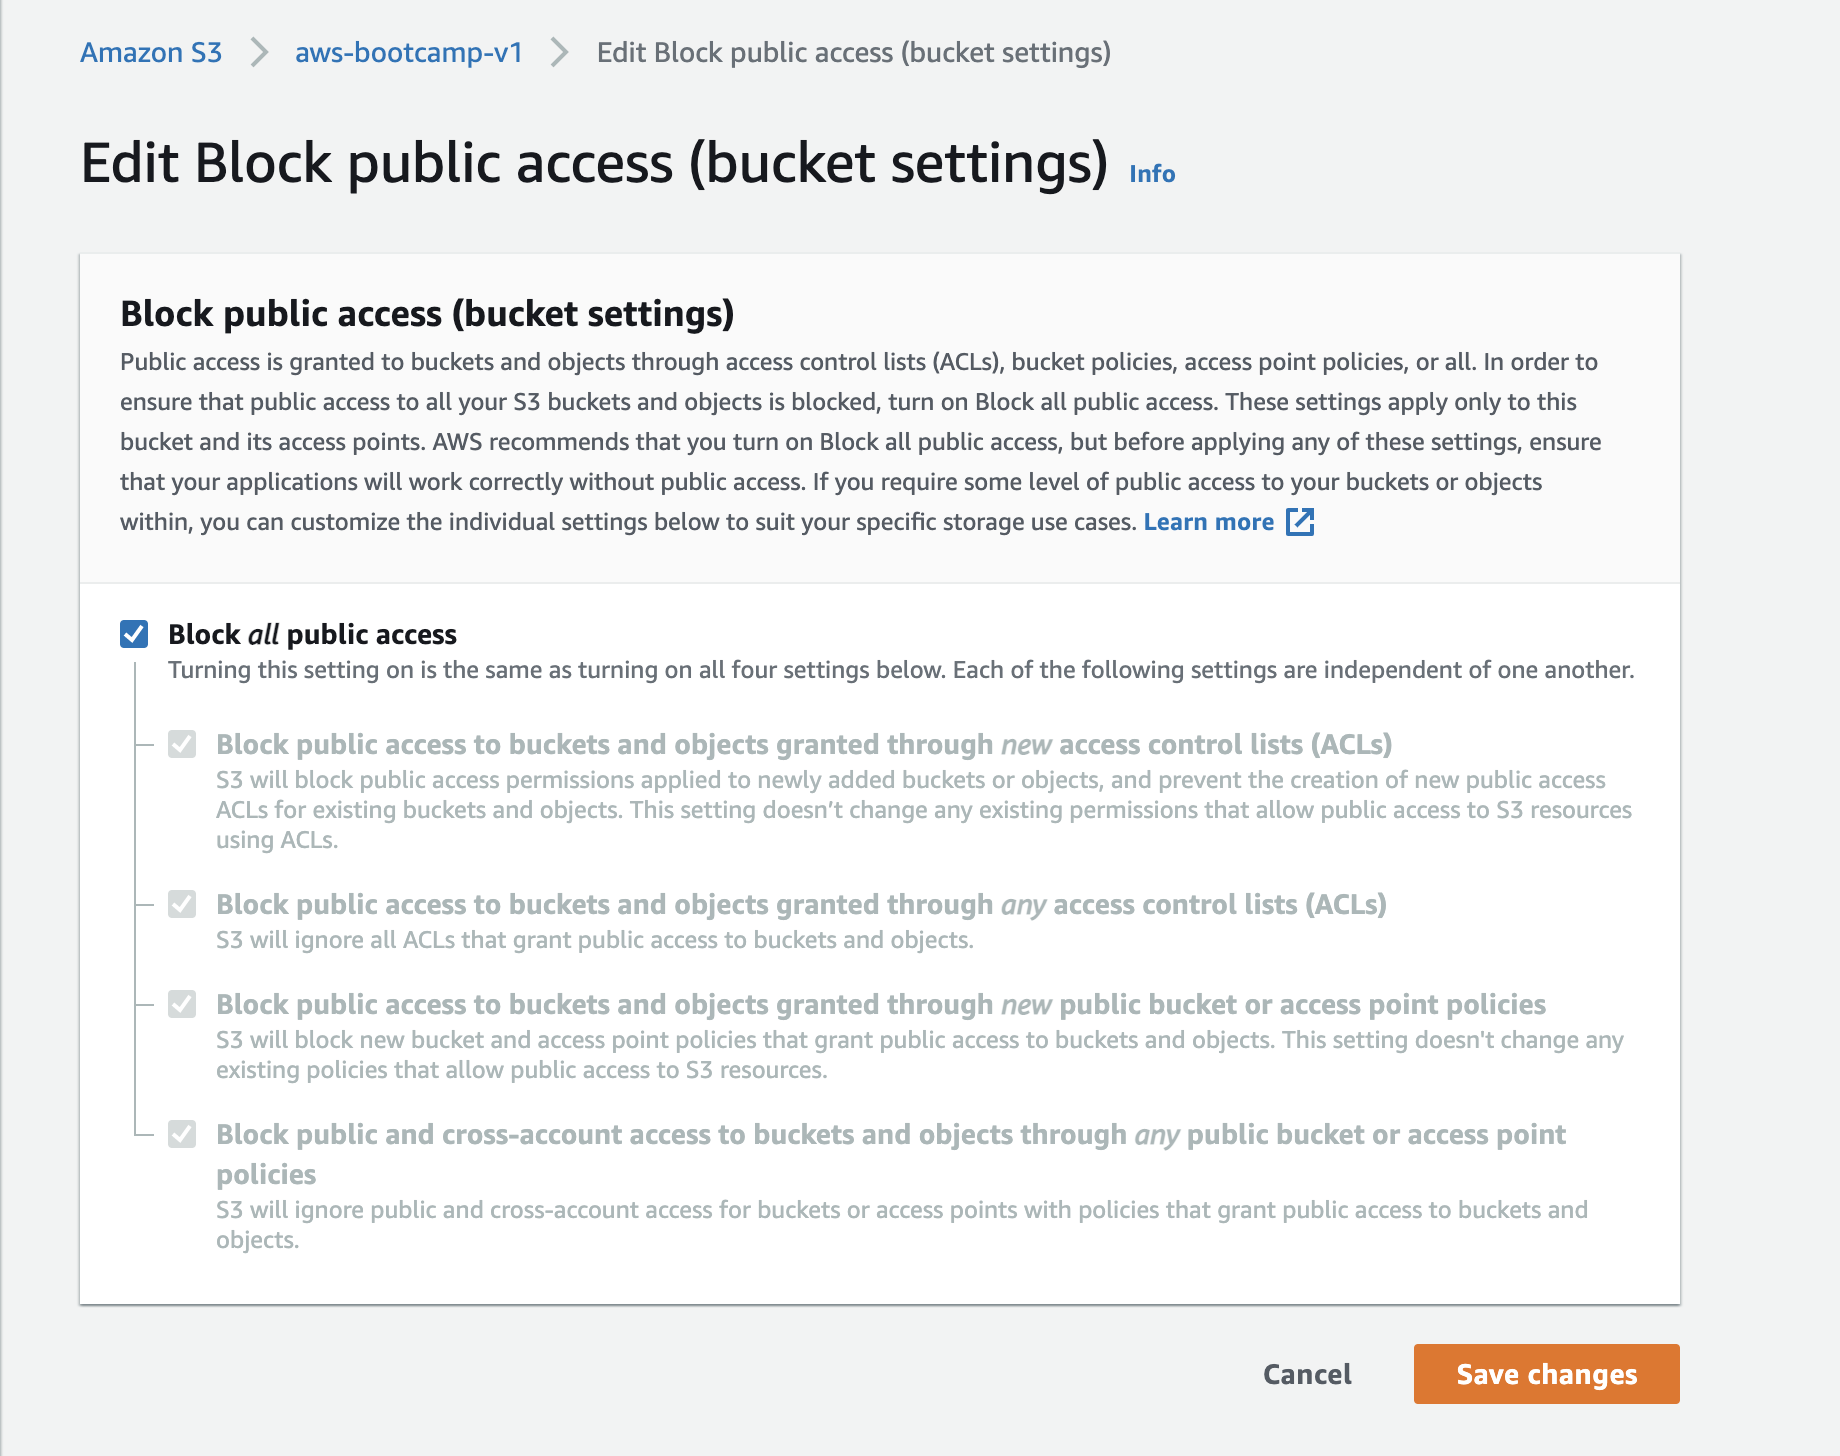
Edit bucket public access
- Click on the created bucket
- Click on the permission tab
- Click the edit button on the block public access setting
- Uncheck the block all public access and click save changes
- Type confirm to save the changes
Set bucket policy
Still on the permission’s page:
- Click on the edit button on the bucket policy setting
- Paste the code below and save.
{
 "Version": "2012-10-17",
 "Id": "Policy1634831580838",
 "Statement": [
     {
         "Sid": "Stmt1634831574390",
         "Effect": "Allow",
         "Principal": "*",
         "Action": "s3:GetObject",
         "Resource": "arn:aws:s3:::Your Bucket ARN/*"
     }
 ]
}
Note: In the Resource section of the code, replace Your Bucket ARN with your actual bucket ARN. You can also use the Policy generator to generate this access policy.
Enable Static website hosting on the bucket
You have setup your bucket and uploaded it with your web files, to enable it for public view, you should:
- Click on the bucket
- Click on the permission tab
- Click Edit on the Static website hosting setting
- Click enable
- Type in index.html as your default on the index document; you can also provide an error document if you have any.
- Leave other settings as default and save.
The static website hosting settings generates a bucket website endpoint automatically.
You can access your website from this bucket website endpoint.
To make changes to your website, edit your web files locally and upload them to the S3 bucket, also delete previous versions of those files.
Bonus: You can also use your custom domain while serving your web content from Amazon S3. You can do this with Amazon Route 53.
Conclusion
Thank you for reading, I hope you learned a lot from this article.
Let's connect on Twitter .
Enjoy 🎉

